Optics
Compound microscope
Prompt
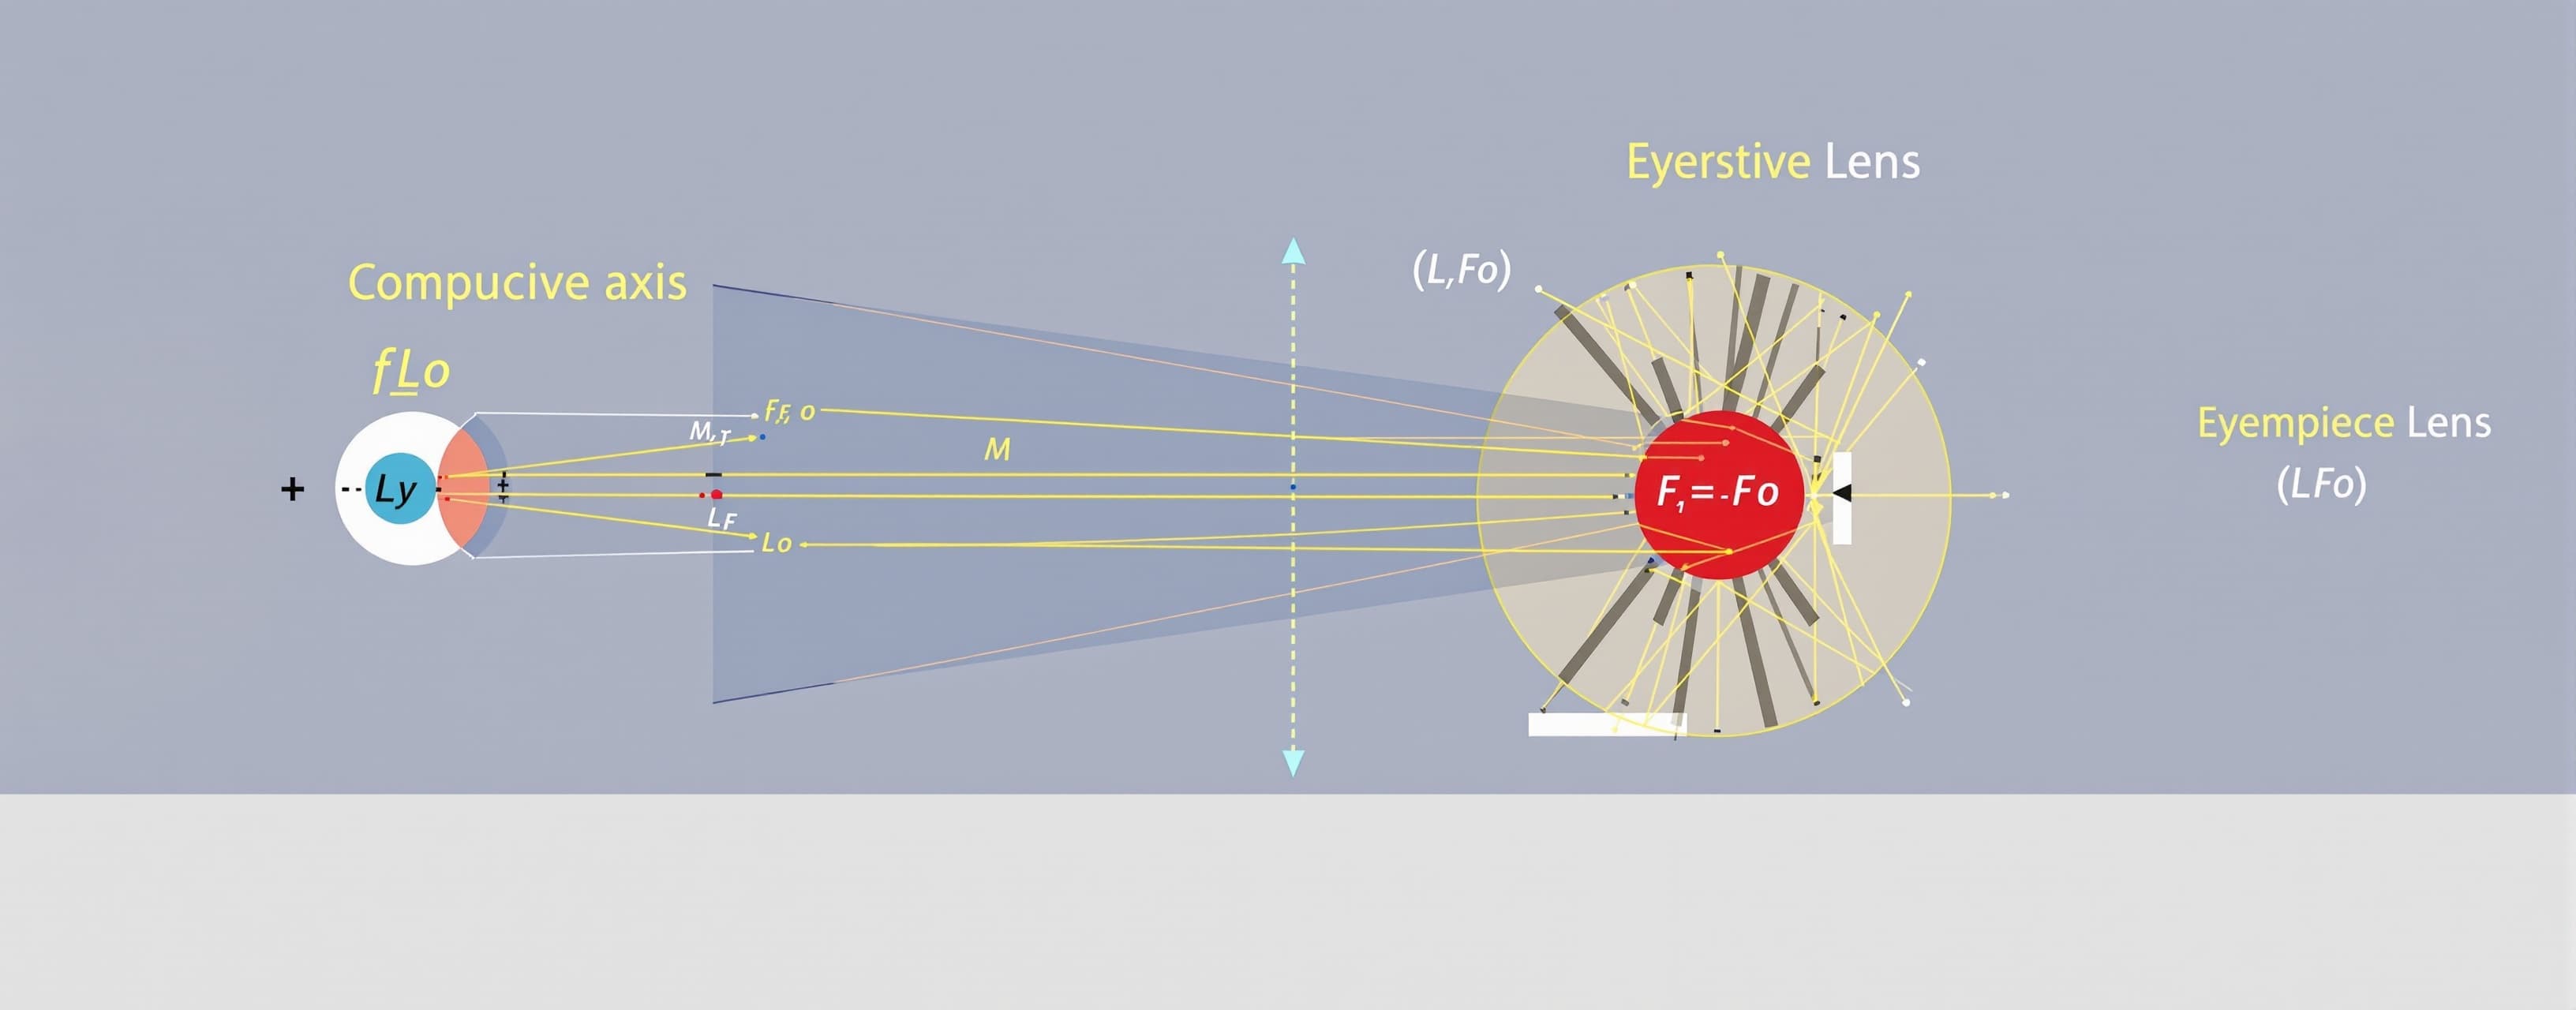
Create a high-quality, interactive p5.js simulation designed for JEE physics students to explore the functioning, ray diagrams, and magnifying power (M) of a compound microscope. The simulation must dynamically update based on user input, strictly adhering to the optical setups shown in 1000118809.png and the mathematical definitions derived in 1000118810.png. The UI must be clean, colorful, and optimized for an educational web dashboard. UI Layout and Setup: Main Visualization Axis: Set up a wide central canvas. Draw a dynamic principal axis. The Instruments: Place a stylized diagram of two converging lenses on the axis, properly labeled: Left (Small Aperture): "Objective Lens" (L_o). Add the focal points f_o (clearly labeled in yellow). Right (Larger Aperture): "Eyepiece Lens" (L_e). Add its focal points f_e (clearly labeled in yellow). Add a visual schematic of a human eye watching from the far right, near the eyepiece. Interactive Elements (Sliders/Controls): Include HTML sliders/controls (outside the canvas or in a control panel) that update the simulation live: Object Position (u_o): Controls the position of the sample. Constraint Logic: Ensure u_o is always placed slightly outside the objective's focus f_o, resulting in a real image (refer 1000118809.png). Eyepiece Focus (f_e): (Referencing note (ii) in 1000118808.png, keep eyepiece focal length adjustable within limits). Tube Length (L): Controls the distance between the Objective and Eyepiece lenses. Constraint Logic: The intermediate image must form inside the focal length of the eyepiece (pole and focus of L_e). Object Height (h): A slider for the size of the initial object. Visualization and Ray Tracing (The "Engine"): 4. Step 1: The Objective (Real Intermediate Image): * As u_o or f_o changes, calculate the intermediate image position (v_o) using \frac{1}{v_o} - \frac{1}{u_o} = \frac{1}{f_o}. * Draw the object (e.g., a green vertical arrow, height h). * Draw key rays from the object through the objective lens that converge to form the intermediate image (referencing 1000118809.png for correct ray behavior). * Draw the intermediate image (inverted, real, larger arrow, e.g., Blue, height h'). Display h' and v_o values nearby. 5. Step 2: The Eyepiece (Final Virtual Image): * Using the intermediate image as the object for the eyepiece, calculate its distance from the eyepiece u_e (which is L - v_o). * Calculate final image position v using \frac{1}{v} - \frac{1}{u_e} = \frac{1}{f_e}. * Draw rays originating from the intermediate image that pass through the eyepiece. * Extend these eyepiece rays backwards (using dashed faint lines, referencing virtual ray extensions from 1000118809.png). * Draw the resulting final virtual magnified image (much larger, inverted relative to the original object, e.g., Purple, height H). Display the visual angle \theta as seen by the eye. Educational States and Data Display: 6. "Relaxed Eye / Normal Adjustment" Mode Button: * When clicked, this button automatically adjusts the 'Tube Length (L)' slider so that the final image distance v = \infty. This requires setting u_e = f_e. The rays from the eyepiece must be shown perfectly parallel (image at infinity). * Display visual text cue: "Normal Adjustment (Relaxed Eye)". 7. "Near Point (D)" Mode Button: * When clicked, this button adjusts the 'Tube Length (L)' slider so that the final image is formed at D = 25\text{ cm}. This is based on the calculation derived in 1000118810.png (u_e = \frac{Df_e}{D+f_e}). * Display visual text cue: "Max Magnification (Strained Eye @ D)". 8. HUD / Dynamic Calculations: Clean text display on the canvas (or a clean dashboard panel), updating live: * Current values: u_o, f_o, v_o, u_e, f_e, L, D (always set D=25\text{ cm}), final height H. * Magnifying Power (M): Show the total calculation M = \text{Linear Mag Objective} \times \text{Angular Mag Eyepiece} = \frac{v_o}{u_o} \times \frac{D}{u_e}. * Display the simplified total value in standard notation: e.g., "Current Power: 45X" or "Power (M_\infty): 32X" when in relaxed mode. Aesthetics: Use consistent, bright educational colors (e.g., Light blue object, blue intermediate image, purple final image). Use bright yellow for focal points and focal axes. Ensure clear contrast and readability for all labels and dynamic text. Add the title: "Interactive Compound Microscope Laboratory.""
A system prompt was added to support web rendering
 MiniMax
 Google
 Anthropic